How to Trim Dog Nails at Home: The Complete Step-by-Step Guide
Knowing how to trim dog nails at home is one of the most valuable skills any dog owner can develop. Overgrown nails aren’t just uncomfortable for your dog — they can cause pain, alter posture, and even lead to joint problems over time. The good news? With the right tools, a calm approach, and a little practice, trimming your dog’s nails at home is completely doable. This guide walks you through everything you need to know, from choosing the right clippers to handling the dreaded quick.
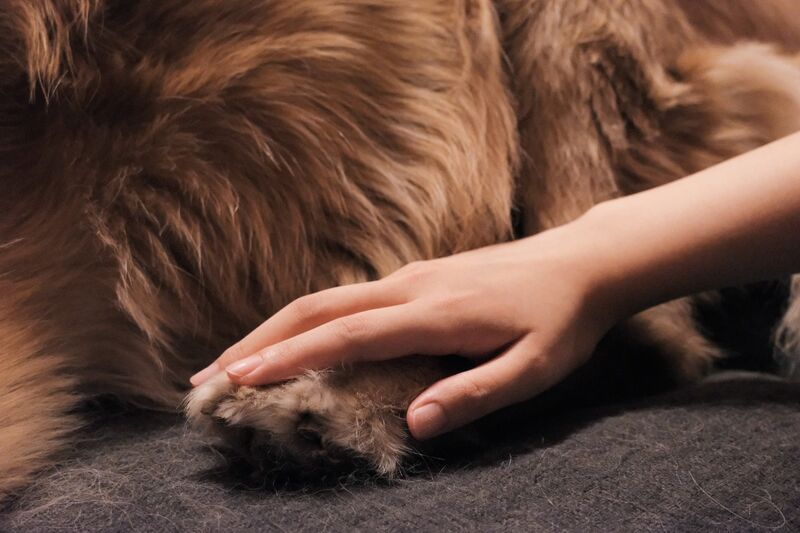
Regular nail trims keep your dog comfortable and healthy.
Why Regular Dog Nail Trimming Matters
Most dog owners know they should trim their dog’s nails, but fewer understand just how important it really is. When nails grow too long, they press against the ground with every step, pushing the toe joints backward. Over weeks and months, this unnatural positioning puts stress on the legs and spine. According to the American Kennel Club, nails should be trimmed often enough that they never touch the ground when your dog is standing.
Beyond joint health, long nails are more likely to snag on carpet, crack mid-nail, or curl back into the paw pad — all of which are painful and potentially dangerous. A consistent nail care routine, done every 3–4 weeks, keeps your dog comfortable and moving naturally.
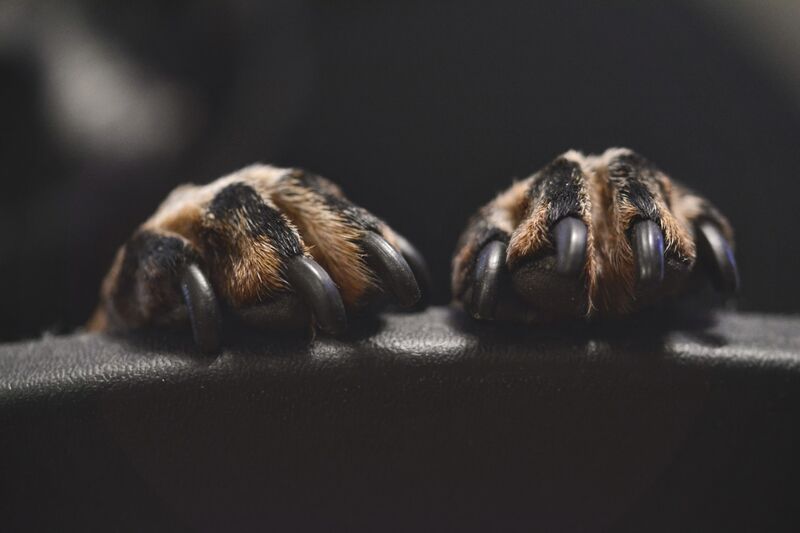
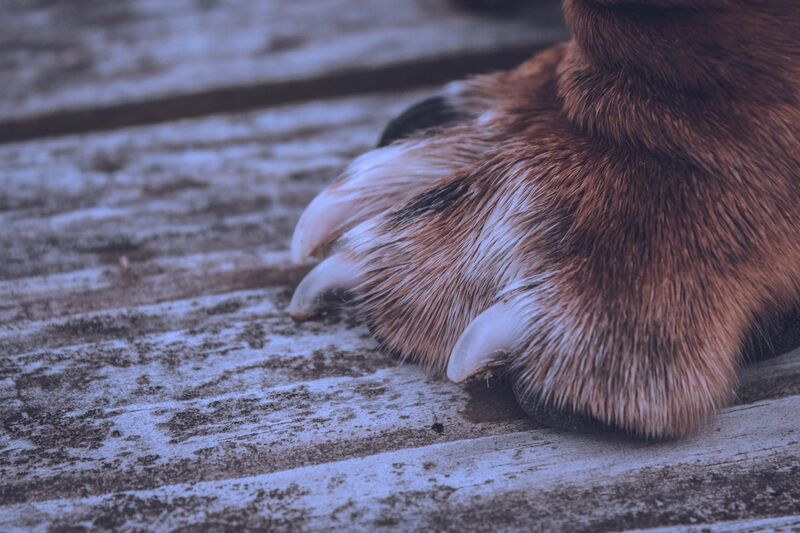
Healthy paws start with regular nail maintenance.
Choosing the Right Dog Nail Clippers
Before you start, you need the right equipment. There are two main types of nail clippers for dogs: scissor-style (also called bypass clippers) and guillotine-style. Scissor clippers are generally better for larger breeds with thicker nails, while guillotine clippers work well on small to medium dogs. A third option — the nail grinder (or Dremel) — files the nail down gradually rather than cutting, which many dogs tolerate better once they’re used to the sound.
Whichever tool you choose, make sure it’s sharp. Dull clippers crush the nail instead of cutting cleanly, which causes pain and makes your dog dread future sessions. Replace them regularly — most standard clippers last about a year with regular use.
Quality nail clippers make the job cleaner and less stressful.
You’ll also want to have styptic powder on hand before you begin. This stops bleeding quickly if you accidentally cut the quick. Cornstarch works in a pinch, but styptic powder is more effective and worth keeping in your grooming kit.
How to Trim Dog Nails at Home — Step by Step
Start by getting your dog comfortable. If your dog is new to nail trims, spend a few sessions just letting them sniff the clippers, then touch the clippers to their paws without cutting, rewarding with treats throughout. This desensitization period pays off enormously — a dog who associates nail trims with treats is far easier to work with than one who dreads the experience.
When your dog is relaxed and you’re ready to cut, follow these steps:
- Pick up the paw gently. Support the paw from below rather than gripping it tightly.
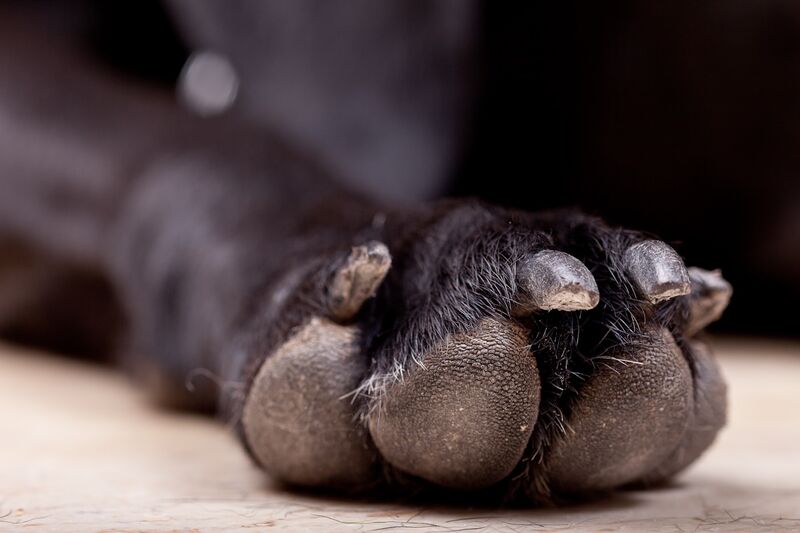
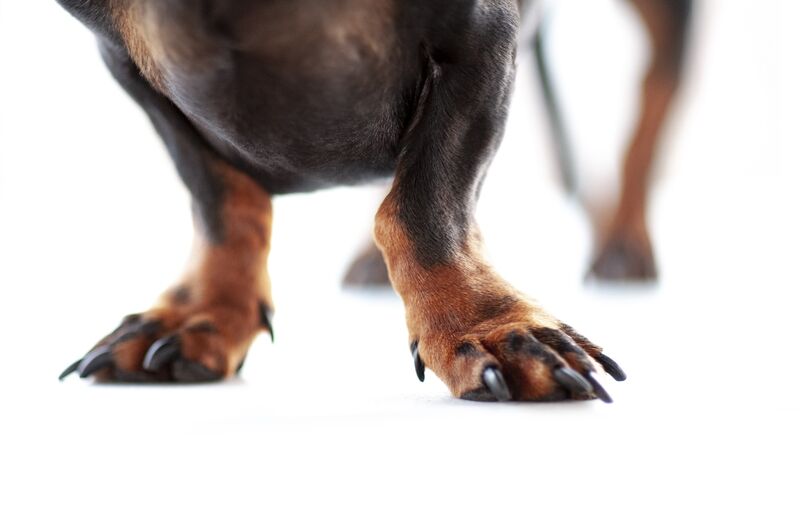
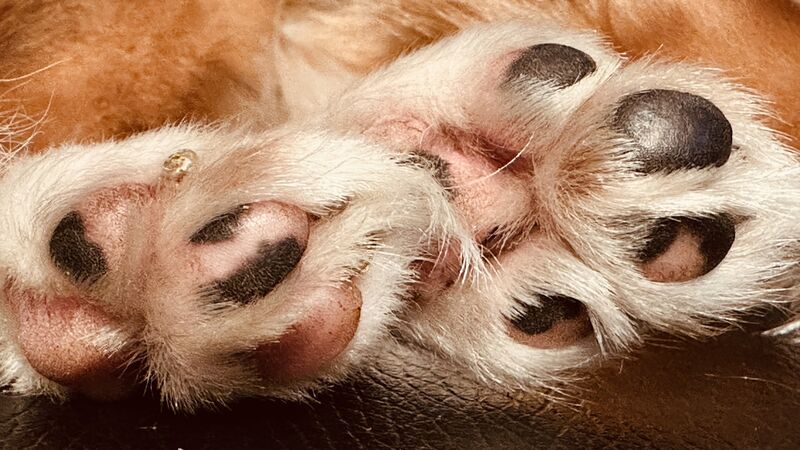
- Identify where to cut. On dogs with light-colored nails, the pink quick is visible. Cut 2–3mm below the quick. On dark nails, trim a little at a time — when you see a small dark dot in the center of the cut surface, you’re approaching the quick and should stop.
- Make a clean, confident cut. Hesitant half-cuts are more painful than decisive ones.
- Reward after each nail, not just at the end. This keeps motivation high throughout.
- Do all four paws — and don’t forget the dewclaws, if your dog has them. These are the small nails located higher on the leg that never touch the ground and grow faster as a result.
Both clippers and grinders are effective — choose based on your dog’s comfort.
Understanding the Quick — and What to Do If You Cut It
The quick is the blood vessel and nerve that runs through each nail. Cutting it hurts and causes bleeding. Every dog owner who trims at home will eventually nick the quick — it’s practically a rite of passage. When it happens, don’t panic.
Press styptic powder firmly against the nail for 30–60 seconds. The bleeding will stop. Comfort your dog, give them a treat, and if you can, finish the remaining nails calmly. Making a big fuss causes more anxiety than the nick itself.
The best way to avoid the quick is to trim more frequently. When nails are regularly maintained, the quick recedes closer to the base of the nail, making trimming easier and safer over time. If your dog’s nails have grown very long, it may take several sessions spaced 1–2 weeks apart before the quick retreats to a safe length.
Watch: How to Trim Dog Nails at Home
Visual guidance makes a huge difference when you’re learning nail trimming technique. This step-by-step video from Underdog Pets covers proper technique, how to read the nail, and how to keep your dog calm throughout:

Tips for Dogs Who Hate Nail Trims
Some dogs are genuinely terrified of nail trims, and forcing the issue makes things worse. If your dog shakes, tries to bite, or becomes extremely distressed, you need a different approach before you pick up the clippers again.
Desensitize slowly: Over several weeks, build positive associations. Touch their paws during cuddle sessions. Let them sniff and lick the clippers. Hold the clippers near their nails without cutting. Reward every step. The goal is to rewire their emotional response to the whole process.
Try a scratch board: Some dogs who hate clippers will enthusiastically scratch a sandpaper-covered board, filing their front nails naturally. It’s not a complete solution but can extend the time between sessions.
Use a grooming sling or lick mat: Distraction is powerful. A lick mat spread with peanut butter (xylitol-free) or wet food keeps many dogs busy and calm during trims. Grooming slings hold small dogs in a comfortable upright position, freeing both your hands.
Work with your vet or a trainer: If your dog’s fear is severe, a certified trainer or veterinary behaviorist can create a desensitization plan. In extreme cases, your vet may recommend mild sedation for trims — it’s far better than forcing a traumatic experience that worsens the fear.
A calm, rewarded dog makes every future session easier.
How Often Should You Trim Your Dog’s Nails?
The standard recommendation is every 3–4 weeks. But this varies based on how fast your dog’s nails grow, how much time they spend on hard surfaces (pavement naturally wears nails down), and individual anatomy. Some dogs need trims every two weeks; others can go six weeks between sessions.
A simple test: stand your dog on a flat floor and listen. If you hear nails clicking with each step, they’re overdue for a trim. If you can see the nail curving, they’re definitely overdue. Make it a habit to check monthly, and trim before the click stage if possible.
For more on keeping your dog’s paws in top shape, see our guide on dog paw care and healthy paw pads — a great companion read to this article.
Even at-home groomers benefit from seeing professional techniques in action.
Nail Trimming as Part of a Complete Dog Grooming Routine
Nail care doesn’t exist in isolation. For best results, build it into a complete at-home grooming routine that includes brushing, ear checks, and dental care. Dogs who are regularly handled for grooming are calmer at vet visits, easier to examine for injuries or skin issues, and generally more comfortable with being touched overall.
The ASPCA recommends starting grooming routines as early as puppyhood so dogs learn to accept handling as a normal part of life. For adult dogs with no grooming history, go slowly and celebrate small wins.
Our spring dog grooming checklist is a great resource for building out a full seasonal routine — nail trimming is step one. And if you’re looking for the right gear to keep your freshly groomed dog comfortable and stylish, browse our full range of dog clothing designed for every season.
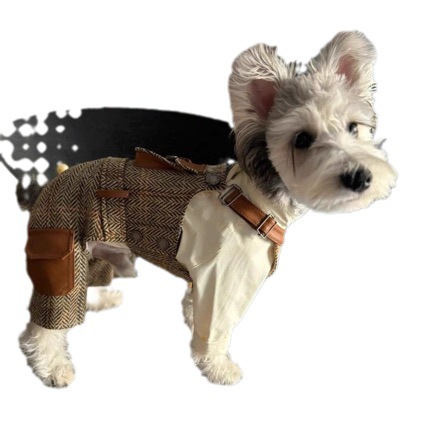
A well-groomed dog is a happy, comfortable dog.

When to See a Professional Groomer or Vet
Trimming at home is the goal, but there are situations where a professional is the better choice. If your dog’s nails are severely overgrown — curling under the paw or already touching the pad — a groomer or vet should handle the first trim to safely manage the extended quick. If a nail is cracked, broken, or infected, that’s a vet visit, not a home job.
According to PetMD, a broken nail that bleeds persistently or shows signs of infection should be treated by a veterinarian. Don’t try to pull a broken nail off at home — it’s painful and risks damaging the nail bed.
Professional groomers are also useful as a reset button. If your dog has developed a strong negative association with nail trims, a few sessions with a patient professional (ideally one who uses positive reinforcement) can help break the cycle and give you a calmer dog to work with at home.